Installing Splunk Enterprise Trial on Azure Ubuntu

Prerequisites:
- An Azure account with a Ubuntu VM running (I'm using Ubuntu Server 20.04 LTS)
- SSH access to the VM
Step 1 - Connect to your Ubuntu VM
SSH into your Ubuntu instance:
ssh -i .\splunk-dev-northeurope-03_key.pem azureuser@74.178.90.213Navigate to the /opt directory where Splunk will be installed:
cd /optStep 2 - Register and Download Splunk Enterprise Trial
Create a free Splunk account if you haven’t already.
Checkout the latest Splunk release at the Splunk Downloads page.
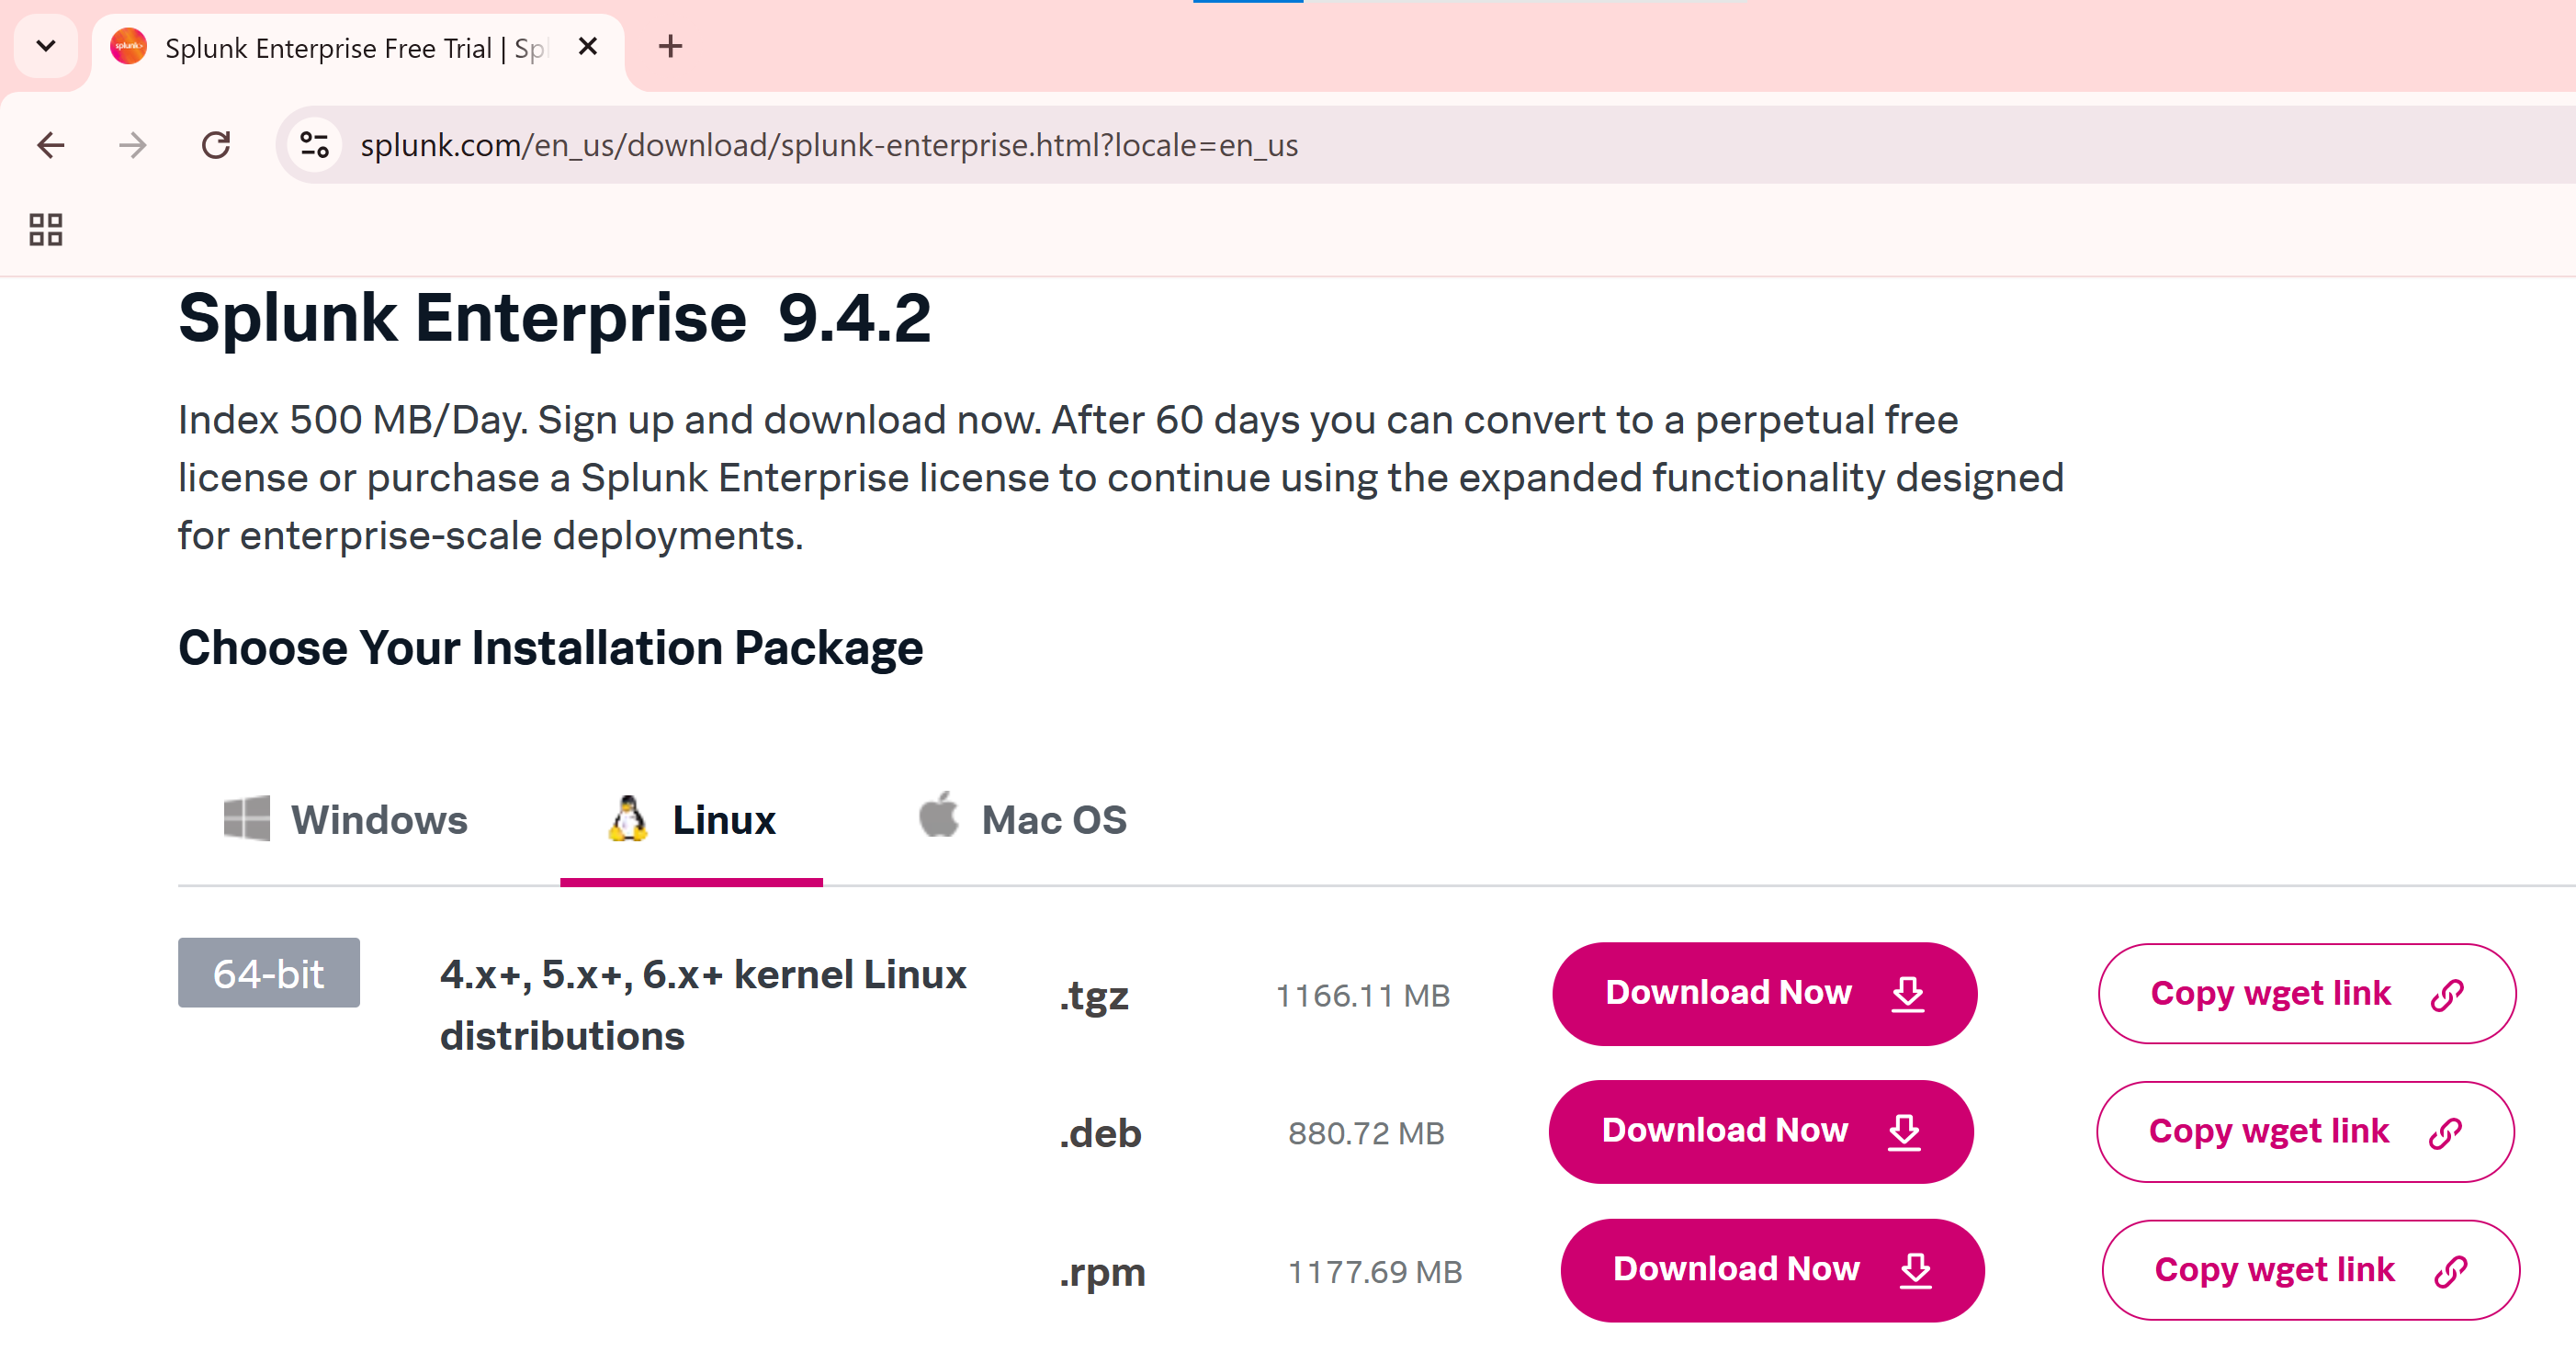
Download the Splunk .tgz archive directly using:
sudo wget -O splunk-9.4.3-237ebbd22314-linux-amd64.tgz "https://download.splunk.com/products/splunk/releases/9.4.3/linux/splunk-9.4.3-237ebbd22314-linux-amd64.tgz"Step 3 - Extract the Splunk Installation Archive
sudo tar xvzf splunk-9.4.3-237ebbd22314-linux-amd64.tgzStep 4 - Start Splunk and Accept the License
Navigate to the Splunk binary directory and start Splunk:
cd /opt/splunk/bin
sudo ./splunk start --accept-license
You’ll be prompted to create an administrator account during the first startup.
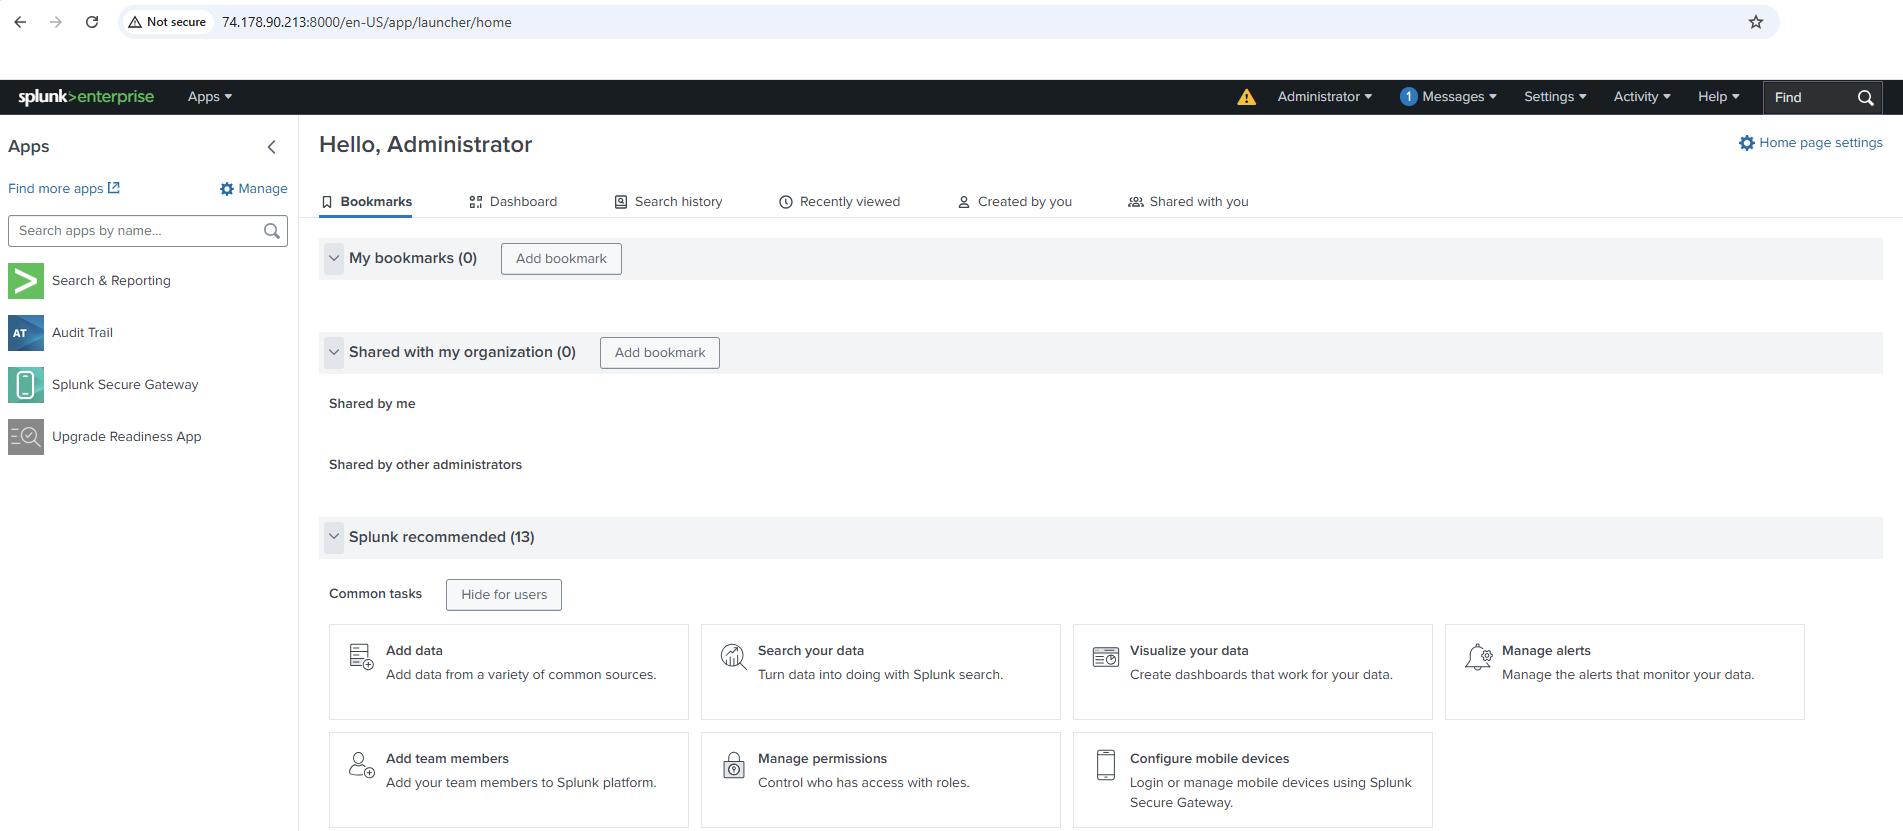
Step 5 - Access the Splunk Web Interface
Splunk is running on port 8000 and is accessible inside the virtual machine. You can't access it from your browser unless Azure explicitly allows traffic on that port. You must allow inbound traffic on port 8000 in your Azure VM’s Network Security Group (NSG):
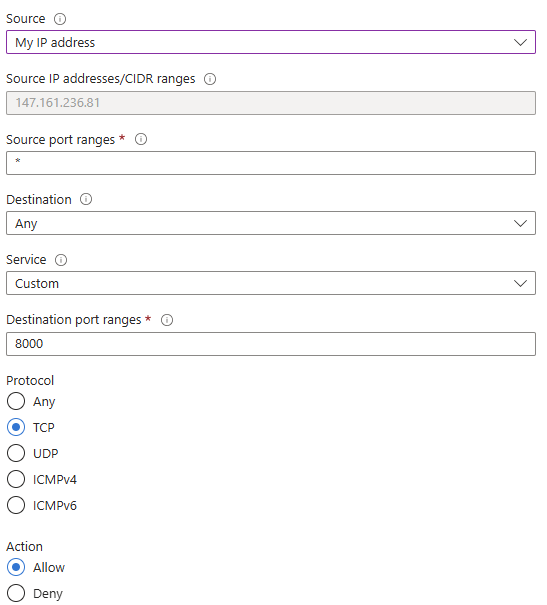
This allows TCP traffic on destination port 8000 from my IP address. After this, you can access the Splunk Web UI at:
http://<your-vm-public-ip>:8000