Setting up Splunk for Security Monitoring in a Docker Container

Splunk is one of many SIEM (Security Information and Event Management) solutions that is used for collecting, analysing and visualizing security data to help detect security threats. In this blog post, we will go through the steps to setup and run Splunk inside a Docker container.
Prerequisites: Docker, Docker Compose and Docker Desktop are installed on your system. Details can be found here
Step 1 - Create the docker-compose.yml File
version: '3'
services:
  splunk:
    image: splunk/splunk:latest
    container_name: splunk
    hostname: splunk
    environment:
      - SPLUNK_START_ARGS=--accept-license
      - SPLUNK_PASSWORD=password123
    ports:
      - "8000:8000"  # Splunk UI
      - "8088:8088"  # HTTP Event Collector (optional)
    volumes:
      - splunk-data:/opt/splunk/var
    restart: always

volumes:
  splunk-data:
This Docker Compose file runs a Splunk service with the splunk/splunk:latest image. It sets environment variables, maps ports for UI and HTTP Event Collector, and stores data in a splunk-data volume. The service is configured to always restart.
Step 2 - Launch the Splunk container
docker-compose up -dStep 3 - Access the Splunk Web UI
Once the container is running, access the Splunk Web UI at:
http://localhost:8000Log credentials:
- Username:
admin - Password:
password123(or whatever you set in thedocker-compose.ymlfile).
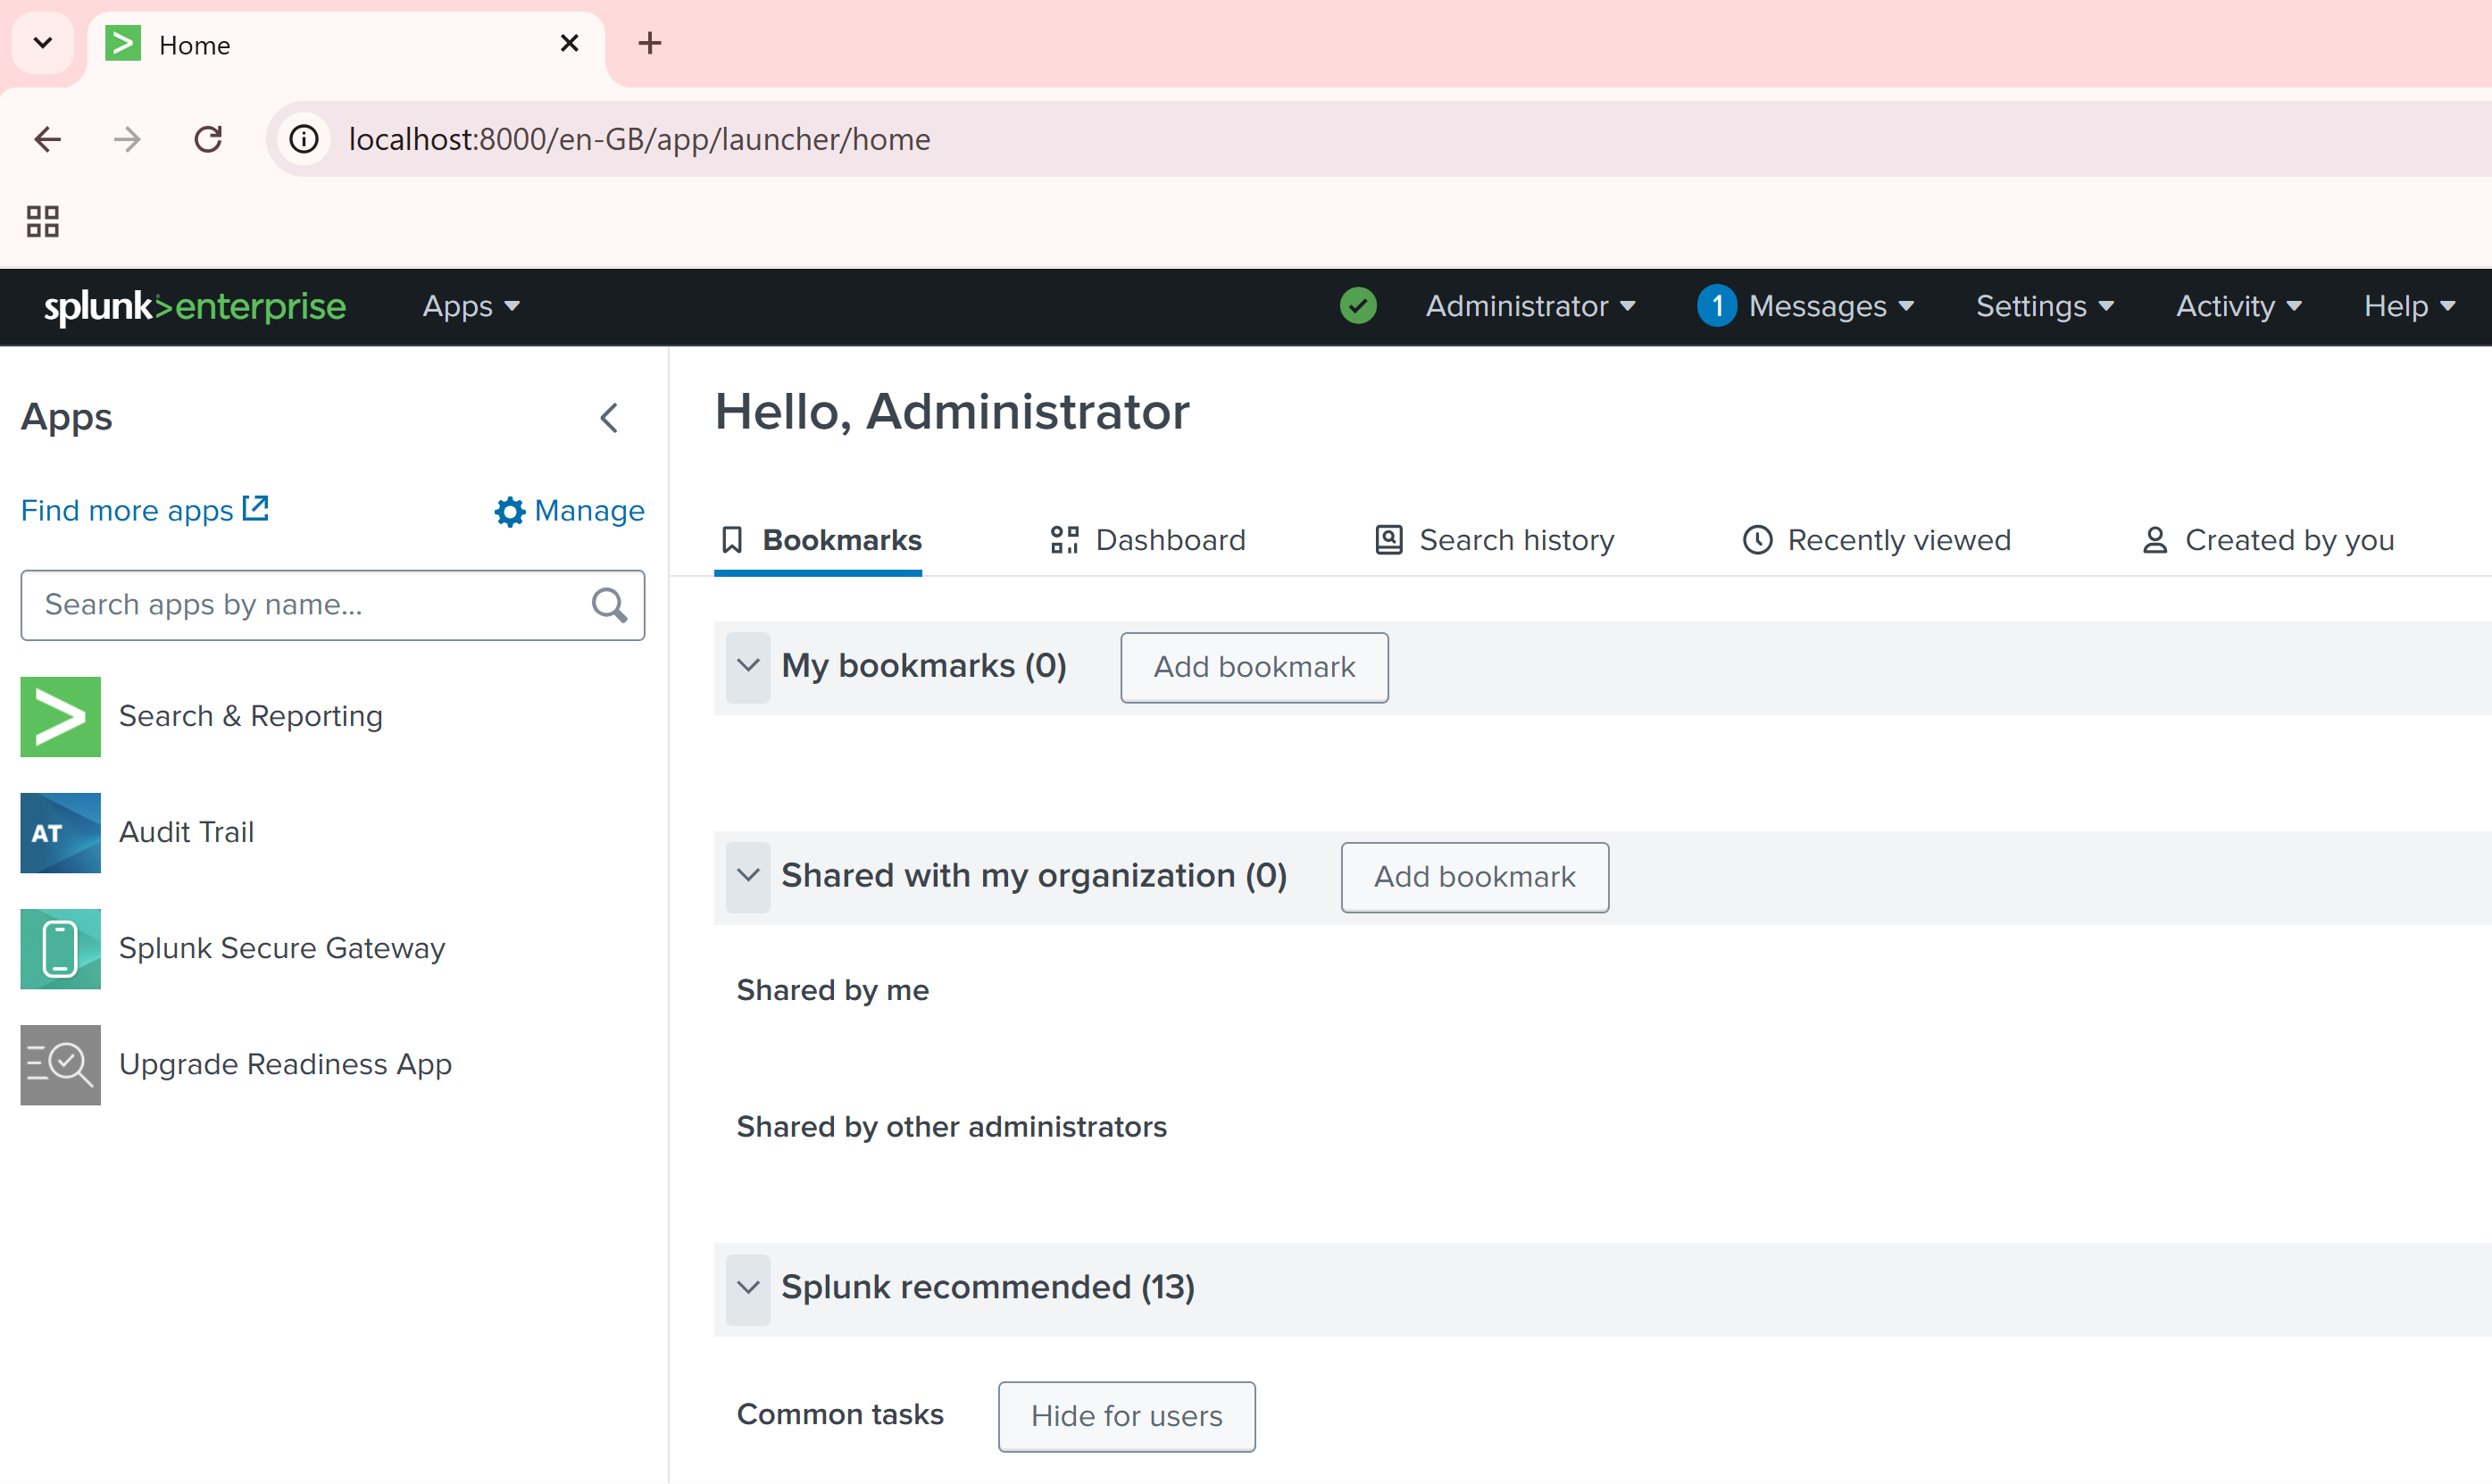
You now have Splunk running inside a Docker container.
To stop and remove the Splunk container, simply use:
docker-compose down